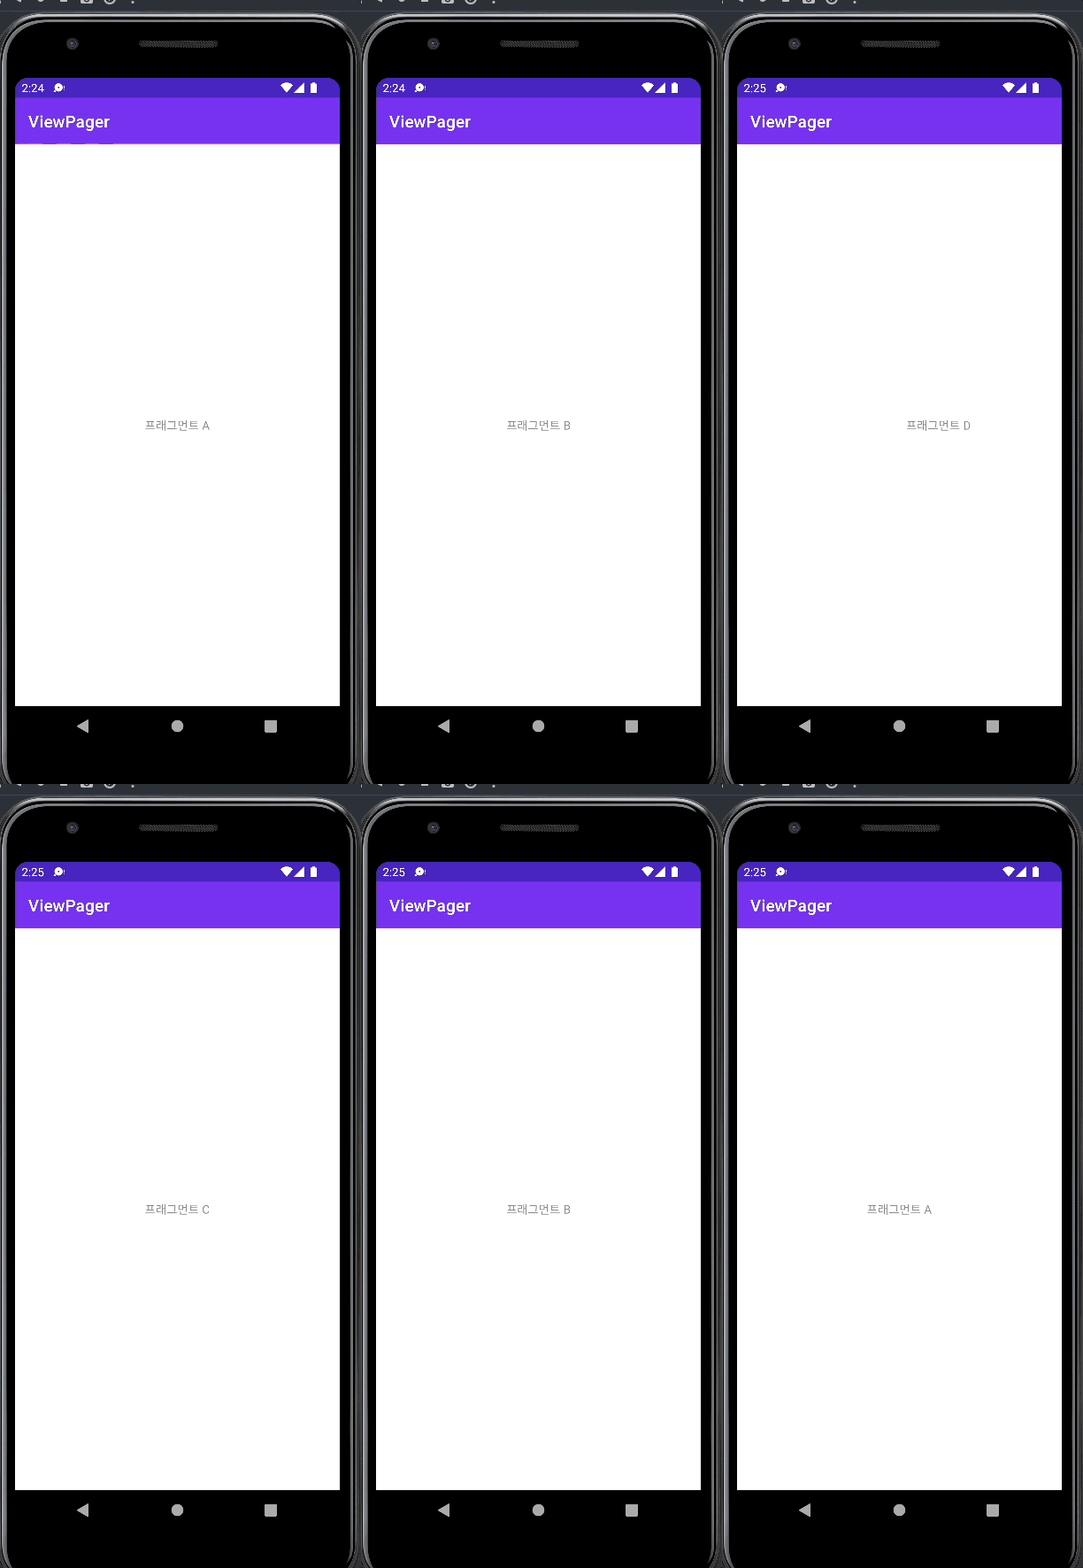
뷰페이저(viewPager)를 사용하여화면을 스와이프하면 다른 프래그먼트로 이동하고(ex. 오른쪽에서 왼쪽으로 스와이프하면 프래그먼트 A-> 프래그먼트B) 프레그먼트는 리사이클러뷰(recyclerView)를 사용하여 여러개의 데이터를 주르륵 나열하도록 만들어 보았습니다.
뷰페이저(ViewPager)
가장 먼저 메인 엑티비티에 뷰페이저를 배치하고 뷰페이저와 연결하기 위한 프래그먼트 어댑터를 만들었습니다.
<?xml version="1.0" encoding="utf-8"?>
<androidx.constraintlayout.widget.ConstraintLayout xmlns:android="http://schemas.android.com/apk/res/android"
    xmlns:app="http://schemas.android.com/apk/res-auto"
    xmlns:tools="http://schemas.android.com/tools"
    android:layout_width="match_parent"
    android:layout_height="match_parent"
    tools:context=".MainActivity">

    <androidx.viewpager2.widget.ViewPager2
        android:id="@+id/viewPager"
        android:layout_width="0dp"
        android:layout_height="0dp"
        android:layout_marginStart="1dp"
        android:layout_marginTop="1dp"
        android:layout_marginEnd="1dp"
        android:layout_marginBottom="1dp"
        app:layout_constraintBottom_toBottomOf="parent"
        app:layout_constraintEnd_toEndOf="parent"
        app:layout_constraintStart_toStartOf="parent"
        app:layout_constraintTop_toTopOf="parent">
    </androidx.viewpager2.widget.ViewPager2>

</androidx.constraintlayout.widget.ConstraintLayout>
activity_main.xml에 위와같이 뷰페이저를 배치하였습니다.
import androidx.fragment.app.Fragment
import androidx.fragment.app.FragmentActivity
import androidx.viewpager2.adapter.FragmentStateAdapter

class FragmentAdapter(fragmentActivity: FragmentActivity): FragmentStateAdapter(fragmentActivity) {
    var fragmentList = listOf<Fragment>()

    // 어뎀터가 화면에 보여줄 전체 프래그먼트의 개수를 반환해야합니다.
    override fun getItemCount(): Int {
        return fragmentList.size
    }

    // 현재 페이지의 position이 파라미터로 넘어옵니다.
    // position에 해당하는 위치의 프래그먼트를 만들어서 안드로이드에 반환해야합니다.
    override fun createFragment(position: Int): Fragment {
        return fragmentList.get(position)
    }
}
위위 코드는 메인 엑티비티에서 뷰페이저와 연결할 프래그먼트 어댑터 클래스입니다.
import androidx.appcompat.app.AppCompatActivity
import android.os.Bundle
import androidx.fragment.app.Fragment
import com.example.viewpagerpractice.databinding.ActivityMainBinding

class MainActivity : AppCompatActivity() {

    val binding by lazy { ActivityMainBinding.inflate(layoutInflater)}
    override fun onCreate(savedInstanceState: Bundle?) {
        super.onCreate(savedInstanceState)
        setContentView(binding.root)

        val fragmentList = listOf(FragmentA(),FragmentB(),FragmentC(),FragmentD())
        val adapter = FragmentAdapter(this)

        adapter.fragmentList = fragmentList
        binding.viewPager.adapter = adapter

    }
}
메인 엑티비티에서 뷰페이저를 연결하였습니다.
이제 좌우로 스와이프해서 프래그먼트간 이동이 가능합니다!

리사이클러뷰(RecyclerView)
Memo라는 데이터 클래스를 만들고
data class Memo(val no: Int, val title: String, val date: String)이제 리사이클러뷰를 사용하여 프래그먼트 B와 프래그먼트 C에서 데이터 리스트를 나열할 수 있도록 만들어보겠습니다.
각 프래그먼트 레이아웃에서 리사이클러뷰를 배치해줍니다.
<?xml version="1.0" encoding="utf-8"?>
<FrameLayout xmlns:android="http://schemas.android.com/apk/res/android"
    xmlns:tools="http://schemas.android.com/tools"
    android:layout_width="match_parent"
    android:layout_height="match_parent"
    tools:context=".FragmentB">

    <androidx.recyclerview.widget.RecyclerView
        android:id="@+id/recyclerView"
        android:layout_width="match_parent"
        android:layout_height="match_parent" />

</FrameLayout>
<?xml version="1.0" encoding="utf-8"?>
<FrameLayout xmlns:android="http://schemas.android.com/apk/res/android"
xmlns:tools="http://schemas.android.com/tools"
android:layout_width="match_parent"
android:layout_height="match_parent"
tools:context=".FragmentC">
<androidx.recyclerview.widget.RecyclerView
android:id="@+id/recyclerView"
android:layout_width="match_parent"
android:layout_height="match_parent" />
</FrameLayout>각각 fragment_b.xml, fragment_c.xml 에서 리사이클러뷰(recyclerview)를 배치해주었습니다.
각 프래그먼트에서 리사이클러뷰와 연결할 리사이클러뷰 어댑터 클래스를 생성해주었습니다.
import android.view.LayoutInflater
import android.view.ViewGroup
import android.widget.Adapter
import androidx.recyclerview.widget.RecyclerView
import com.example.viewpagerpractice.databinding.FragmentBBinding
import com.example.viewpagerpractice.databinding.ItemRecyclerBinding

class RecyclerAdapter: RecyclerView.Adapter<Holder>() {
    var memoList = mutableListOf<Memo>()

    override fun onCreateViewHolder(parent: ViewGroup, viewType: Int): Holder {
        val binding = ItemRecyclerBinding.inflate(LayoutInflater.from(parent.context), parent, false)
        return Holder(binding)

    }

    override fun onBindViewHolder(holder: Holder, position: Int) {
        val memo = memoList.get(position)
        holder.setMemo(memo)
    }

    override fun getItemCount(): Int {
        return memoList.size
    }
}

class Holder(val binding: ItemRecyclerBinding) : RecyclerView.ViewHolder(binding.root){

    fun setMemo(memo: Memo){
        binding.textNo.text = "${memo.no}"
        binding.textTitle.text = "${memo.title}"
        binding.textDate.text = "${memo.date}"

    }

}
위에서 만든 리사이클러뷰 어댑터를 각 프래그먼트에 연결시켜 주겠습니다.
프래그먼트 B와 프래그먼트 C를 구분하기 위하여 보여질 정보는 다르게 구성하였습니다.(fun getMemo(), fun getData())
import android.os.Bundle
import androidx.fragment.app.Fragment
import android.view.LayoutInflater
import android.view.View
import android.view.ViewGroup
import androidx.recyclerview.widget.LinearLayoutManager
import com.example.viewpagerpractice.databinding.FragmentBBinding

class FragmentB : Fragment() {
    val binding by lazy { FragmentBBinding.inflate(layoutInflater) }

    override fun onCreateView(
        inflater: LayoutInflater, container: ViewGroup?,
        savedInstanceState: Bundle?
    ): View? {
        val memoList = getMemo()
        val adapter = RecyclerAdapter()
        adapter.memoList = memoList
        binding.recyclerView.adapter = adapter
        binding.recyclerView.layoutManager = LinearLayoutManager(context)

        return binding.root
    }

    fun getMemo(): MutableList<Memo> {
        var memoList = mutableListOf<Memo>()
        for (i in 1..100) {
            val title = "${i}번째 제목입니다. 우와"
            val day = "20220303"
            val memodata = Memo(i, title, day)
            memoList.add(memodata)
        }

        return memoList
    }

}
프래그먼트B 입니다.
import android.os.Bundle
import androidx.fragment.app.Fragment
import android.view.LayoutInflater
import android.view.View
import android.view.ViewGroup
import androidx.recyclerview.widget.LinearLayoutManager
import com.example.viewpagerpractice.databinding.FragmentCBinding
import java.text.SimpleDateFormat

class FragmentC : Fragment() {
    val binding by lazy { FragmentCBinding.inflate(layoutInflater) }

    override fun onCreateView(
        inflater: LayoutInflater, container: ViewGroup?,
        savedInstanceState: Bundle?
    ): View? {
        val memoList = getData()
        val adapter = RecyclerAdapter()
        adapter.memoList = memoList
        binding.recyclerView.adapter = adapter
        binding.recyclerView.layoutManager = LinearLayoutManager(context)

        return binding.root
    }

    fun getData(): MutableList<Memo> {
        val dataList = mutableListOf<Memo>()
        for (no in 100..200) {
            val title = "${100}입니다."
            val date = "20220304"
            val memodata = Memo(no, title, date)
            dataList.add(memodata)

        }

        return dataList
    }

}
프래그먼트C 입니다.
이제 프래그먼트 B와 C에서 리사이클러뷰가 동작하게 됩니다.


최근댓글